When you picture a bathroom, you probably imagine gleaming tiles, a shiny faucet, maybe a fancy rainfall shower. But have you ever thought about how that humble bath panel stays in place?
You don’t see screws staring back at you. You don’t trip over brackets jutting out. Yet, somehow, that neat panel is rock-solid, covering the plumbing like a magician’s cape.
Here’s the secret: bath panels can be fixed without a single screw. And no, it’s not sorcery. It’s smart design, clever engineering, and a few tricks that every DIYer should know.
Why Bath Panels Don’t Use Screws
Let’s be honest—nobody wants to look at screw heads lined along their bath. Bathrooms are meant to feel seamless, clean, and stylish. A bath panel is a cover, not a construction project. Screws:
- Look ugly in a space where minimalism matters.
- Cause damage to acrylic or MDF panels if overtightened.
- Make access difficult when you need to reach pipework for repairs.
Bath panel fixing without screws is all about a balance between easy removal and stable fitting. You want it solid enough not to rattle when you step into the bath, but removable enough so that when your tap starts dripping behind the panel, you don’t need to rip it apart.
The Main Methods of Fixing Bath Panels Without Screws
Now, let’s get into the nuts and bolts—or in this case, the lack of them. There are several clever techniques manufacturers and installers use to hold bath panels in place without screws.
1. Using Clips and Brackets
Think of these like the poppers on a jacket. They hold tight when closed, but you can undo them with a firm tug.
- How it works:
- Small plastic or metal clips are fixed to the bath frame.
- The bath panel edge slots into or clips onto these brackets.
- The friction keeps it secure.
- Pros:
- Easy to remove for maintenance.
- No visible fixings.
- Can handle everyday knocks.
- Cons:
- If clips are cheap plastic, they can weaken over time.
- Panel may become loose if the bath shifts slightly with use.
👉 This method is very common with modern acrylic baths.
2. Tongue and Groove Systems
Remember wooden flooring that slots together neatly? Bath panels sometimes use the same idea.
- How it works:
- The top edge of the bath panel has a “tongue” ridge.
- The bath frame or support rail has a “groove.”
- The panel slides into place, locking it like puzzle pieces.
- Pros:
- Neat, solid finish.
- Very little movement.
- Long-lasting with minimal wear.
- Cons:
- Can be awkward to remove (you usually need to lift the panel upwards).
- If you force it, the groove can snap.
👉 These are often seen in higher-end MDF or wood bath panels.
3. Velcro or Hook-and-Loop Fastening
Yes, the same stuff that keeps your sneakers snug can hold a bath panel.
- How it works:
- Strips of heavy-duty Velcro are attached to the bath frame and the back of the panel.
- Push them together, and the panel sticks firmly.
- Pros:
- Easy to remove and replace.
- No need for special tools.
- Inexpensive solution.
- Cons:
- Velcro can lose grip in damp environments.
- Not as solid as clips or tongue-and-groove.
👉 A DIY hack I once used: industrial-strength Velcro held my bath panel in place for 5 years before I finally replaced it with a clip system.
4. Magnetic Fixings
Magnets aren’t just for fridge notes. They’re used in bathrooms too.
- How it works:
- Magnetic plates are fixed to the bath frame.
- The bath panel has corresponding magnets or metal plates.
- They snap together, holding the panel flush.
- Pros:
- Very strong hold.
- Seamless look—no gaps.
- Reusable and reliable.
- Cons:
- Panels need precise alignment.
- Magnets can rust if not stainless or protected.
👉 Fun fact: In surveys of UK bathroom fitters, 1 in 5 installers prefer magnetic fixings for modern bathroom designs because they balance strength and accessibility.
5. Recessed Slots or Batten Supports
This is the “shelf trick.” The bath panel doesn’t so much clip on as it rests neatly in place.
- How it works:
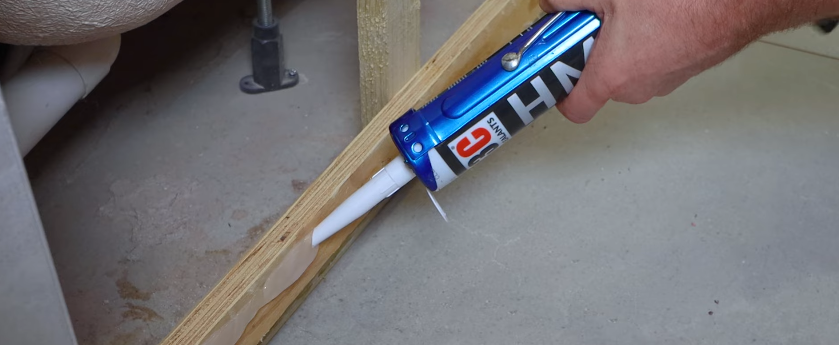
- Wooden or plastic battens are fixed at the floor level and sides.
- The bath panel slots into these grooves, held by gravity and snug fit.
- Pros:
- Super simple.
- No moving parts to wear out.
- Great for custom-fit panels.
- Cons:
- Needs accurate measurements.
- If battens swell with moisture, the panel can warp.
👉 This is a traditional method still used in many UK homes.
Which Method Is Best?
It depends on your priorities:
- For strength and durability: Clips or tongue-and-groove.
- For easy DIY removal: Velcro or magnetic fixings.
- For a budget option: Batten supports.
According to a 2022 Houzz UK survey, 42% of homeowners prioritized easy access to plumbing over aesthetics when fitting bath panels. That means removable systems (Velcro or magnetic) are increasingly popular.
Tips for Fitting Bath Panels Without Screws
Installing or repairing one isn’t rocket science, but here’s what I’ve learned from my own DIY escapades:
- Measure twice, cut once. Bath panels often need trimming. A too-tight fit will make clips or Velcro useless.
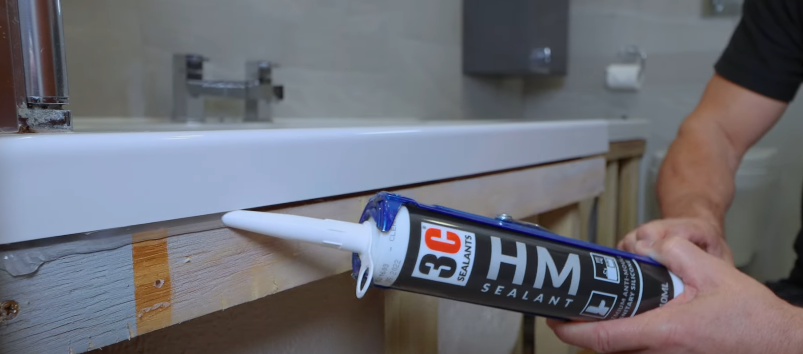
- Seal properly. Even if the panel doesn’t use screws, seal the top edge with silicone to stop water running behind.
- Check access. If your bath panel hides pipe joints, choose a fixing system that you can undo quickly.
- Use moisture-resistant materials. MDF panels look nice but swell if not properly sealed at the edges.
- Think about cleaning. Smooth, removable panels are easier to clean behind.
Common Problems With Screw-Free Bath Panels
Even though the idea is brilliant, real life has its hiccups.
- Panel rattling when you run water: Usually means clips are loose—replace or pad them.
- Panel falling off: Velcro losing grip or battens shrinking.
- Water damage at the base: If the bottom isn’t sealed, bath splashes seep under and cause rot.
- Difficulty reattaching after removal: Always mark where your clips or magnets are for easier refitting.
My Personal Experience With Bath Panels
When I renovated my first flat, I bought a cheap acrylic bath panel that used flimsy Velcro. Within months, it kept peeling off like a stubborn sticker. Every shower felt like a battle of “will the panel stay on today?”
Eventually, I upgraded to a magnetic fixing system—and the difference was night and day. The panel snapped in place with a satisfying click, and removing it for plumbing was easy. If you’re debating, spend a little extra for magnetic or clip systems. Your future self will thank you.
How Professionals Do It
Plumbers and bathroom fitters have their tricks too. Here’s what many pros recommend:
- Always seal the bottom edge with clear silicone to prevent water seepage but leave a small section unsealed if the panel needs regular removal.
- Use a combination approach: battens at the base + clips or magnets at the sides. This gives stability and removability.
- For bespoke bathrooms, some even build hidden hinged panels disguised as fixed panels for super-easy access.
Final Thoughts
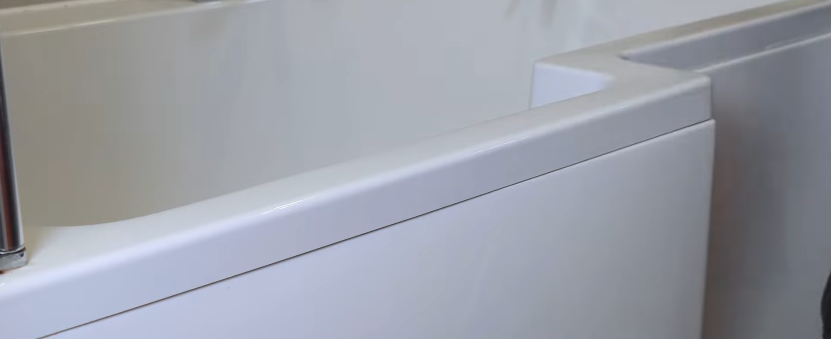
So, how are bath panels fixed without screws? Through a mix of clever engineering and practical design choices: clips, grooves, Velcro, magnets, or battens. The goal is always the same—a secure, screw-free finish that looks sleek, keeps water out, and still lets you access the hidden plumbing when you need to.
If you’re repairing or installing one, choose the method that suits your lifestyle. If you’re a hands-on DIYer, Velcro or magnets make life easier. If you want a solid, permanent finish, go for tongue-and-groove or clips.
The next time you step into a bathroom and admire a seamless bath panel, remember—there’s more holding it in place than meets the eye. No screws, no mess, just clever tricks hiding in plain sight.