A cracked or chipped bathroom tile can feel like that one loud squeaky floorboard—you notice it every single time. Besides looking bad, broken tiles can also let in moisture, which leads to mold, stains, or even damage to the wall or subfloor beneath. The good news is that fixing a broken tile is totally doable with basic tools and a little patience.
Tools and Materials You’ll Need
Before you start, gather the essentials. Nothing’s worse than having mortar on your hands and realizing you’re missing the grout sponge.
- Replacement tile (ideally the exact match; if not, choose something close)
- Grout (match color to existing grout)
- Thin-set mortar or tile adhesive
- Grout float (a rubber tool for pressing grout in)
- Grout sponge (damp, not dripping)
- Notched trowel (for applying mortar)
- Tile spacers (optional but useful)
- Utility knife
- Hammer and chisel (or flathead screwdriver)
- Painter’s tape (to protect surrounding tiles)
- Safety goggles and gloves
Step 1: Remove the Broken Tile
This is the messy but satisfying part.
- Protect surrounding tiles by covering their edges with painter’s tape.
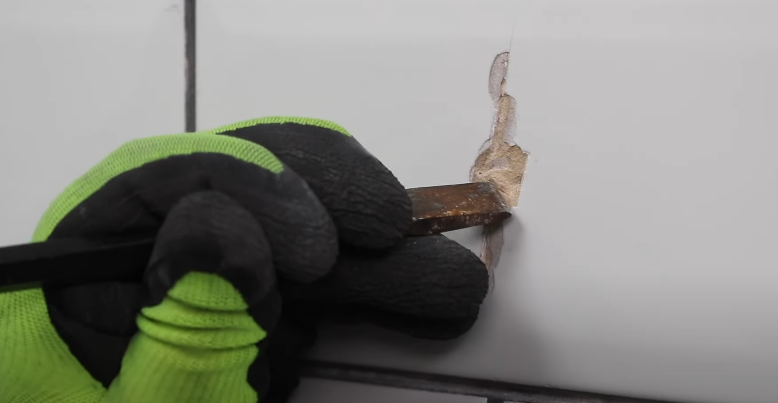
- Score the grout around the broken tile using a utility knife. This separates it from its neighbors.
- Break the damaged tile by gently hitting the center with a hammer and chisel (or screwdriver). Don’t smash it wildly—you want to avoid cracking nearby tiles.
- Remove the shards carefully, working from the center outward.
- Scrape off old adhesive or mortar until you have a clean, smooth surface. This step is crucial; leftover mortar will prevent the new tile from sitting flat.
Step 2: Prepare the Surface
Think of this step as setting the stage.
- Vacuum or wipe the area to remove dust.
- Make sure the surface is dry before applying mortar.
- Do a “dry fit” test by placing the new tile in the hole without adhesive to confirm it sits flush.
Step 3: Set the New Tile
Now the fun part—making it look like nothing ever happened.
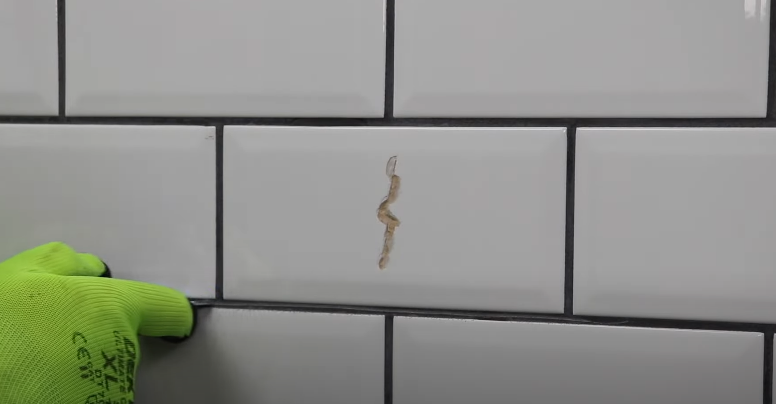
- Spread thin-set mortar on the surface using a notched trowel. Apply evenly so the tile doesn’t wobble.
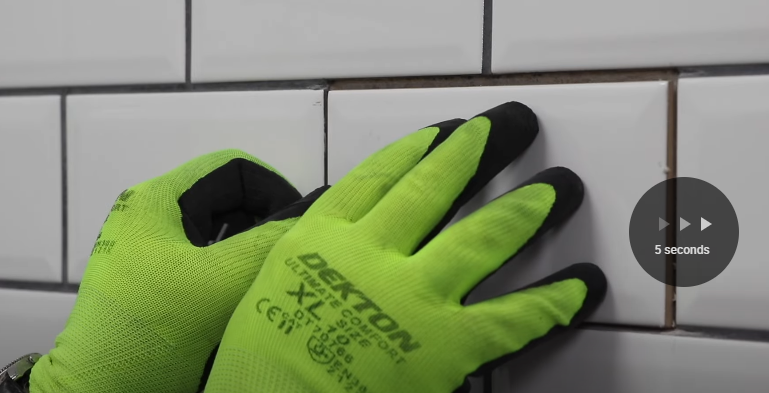
- Press the new tile firmly into place. Twist it slightly as you press—it helps spread the mortar and lock it in.
- Use tile spacers if needed to keep grout lines even.
- Wipe off any mortar squeeze-out immediately with a damp cloth.
Let the tile set for at least 24 hours before grouting.
Step 4: Regrout the Tile
Grouting blends the repair into the rest of the floor or wall.
- Mix grout according to package instructions. It should have a peanut-butter-like consistency.
- Apply grout with a grout float, pressing it firmly into the joints at a 45° angle.
- Wipe off excess grout with a damp sponge, rinsing it frequently.
- After about 30 minutes, you’ll notice a haze forming on the tile. Buff it off with a dry cloth.
- Let grout cure for 24–48 hours before using the shower or floor.
What If You Don’t Have a Matching Tile?
This is common, especially with older bathrooms. A few tricks:
- Check the attic, garage, or basement. Builders often leave behind extra tiles.
- Take a sample to a tile shop. They might have discontinued stock or close matches.
- Get creative. If you can’t match, replace several tiles in a pattern (like a border) so it looks intentional.
Quick Fix Options (Temporary Solutions)
If you can’t do a full replacement right away:
- Use epoxy filler for small chips and cracks. You can tint it to match your grout or tile color.
- Apply tile stickers or waterproof decals over chipped areas. Not a forever fix, but it hides damage until you’re ready to replace.
Pro Tips for a Lasting Repair
- Work slowly during removal. Most DIY mistakes happen when people rush and crack surrounding tiles.
- Seal the grout after it cures. This keeps moisture and stains out.
- Use the right mortar for the job. Some adhesives are for walls, some for floors. Read the label.
- Don’t skip surface prep. A dirty or uneven base will cause the new tile to loosen later.
When to Call a Professional
While one or two broken tiles are a great DIY project, consider calling a pro if:
- You have multiple cracked tiles, which could mean movement in the subfloor.
- The breakage is caused by water damage (soft spots underfoot are a red flag).
- You’re dealing with complex patterns or mosaics that require precision.
Final Thoughts
Fixing a broken bathroom tile isn’t just about looks—it protects your walls and floors from hidden water damage. The process takes a bit of patience, but once you pop in that fresh tile and smooth the grout, you’ll feel like you’ve just performed a mini bathroom makeover.
And trust me, the next time you step into your bathroom and don’t see that cracked eyesore staring back at you, you’ll thank yourself for tackling it.