A worn-out, scratched, or chipped bathtub surface can make the whole bathroom look tired and uncared for. You don’t need to rip out the entire tub just because it has seen better days.
Fixing the tub surface is absolutely possible, and with the right approach, you can bring back that smooth, glossy finish without emptying your wallet.
I’ve done this myself in a small flat I rented years ago, where the tub had more chips than a bag of crisps, and trust me—it’s satisfying when you see it shine again. Let’s dive straight in.
Understanding Tub Surface Problems
Before you even think about fixing, you need to identify exactly what kind of damage you’re dealing with. Different surface issues require different solutions, and this is where most people go wrong. They grab some random repair kit and expect miracles.
Here’s what you might see:
- Chips and nicks: Small gouges caused by dropping a shampoo bottle or a razor.
- Scratches: Fine marks that dull the surface but don’t penetrate deeply.
- Stains and discoloration: Caused by minerals, rust, or cleaning products.
- Peeling or flaking finish: Common in tubs that were reglazed badly in the past.
- Dull, worn enamel or acrylic: Just years of use wearing away the glossy surface.
The trick is to match the repair method to the problem. A tiny chip doesn’t need the same approach as a full reglaze.
Tools and Materials You’ll Need
Let’s be honest—tub repairs aren’t something you can improvise with duct tape. You need the right gear. Here’s a practical list:
- Tub repair kit: Choose enamel or acrylic depending on your tub material.
- Epoxy or porcelain filler: For chips and deeper damage.
- Sandpaper (fine grit 400–600): For smoothing repairs.
- Cleaning supplies: Non-abrasive cleaner, sponge, cloth.
- Protective gear: Gloves, mask, and ventilation if using chemicals.
- Polish or refinishing compound: To restore shine.
Optional but handy: a small putty knife, painter’s tape, and a buffer attachment for a drill.
Step 1: Clean and Inspect the Tub
Sounds obvious, but many people skip this and then wonder why their repair looks awful.
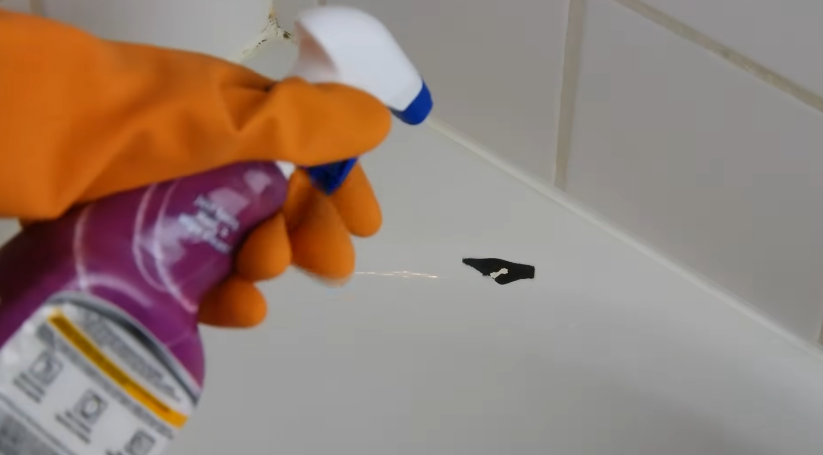
- Scrub the tub with a non-abrasive cleaner.
- Rinse thoroughly.
- Dry completely with a cloth.
- Inspect under good lighting to spot every scratch, chip, or worn patch.
If you’ve ever tried painting over a greasy wall, you know how disastrous it looks when the prep isn’t done properly. The same applies here.
Step 2: Fixing Chips and Cracks
Chips are the most common issue and thankfully one of the easiest to fix.
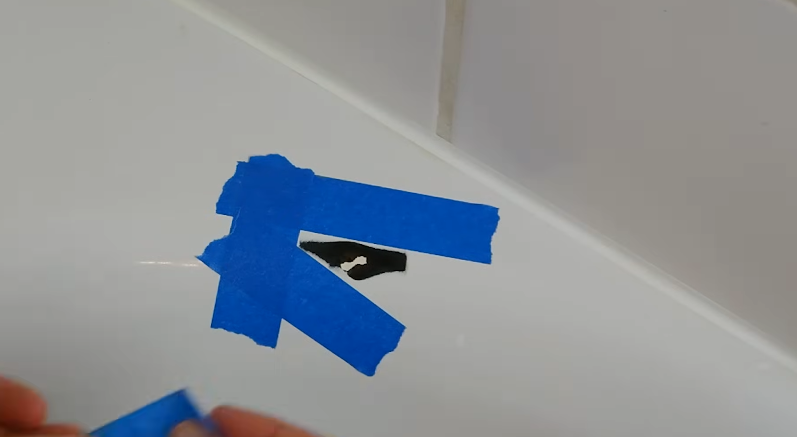
- Clean the damaged area again to remove any soap residue.
- Mix the filler or epoxy as directed in your kit.
- Apply carefully with a putty knife or applicator, pressing it into the chip.
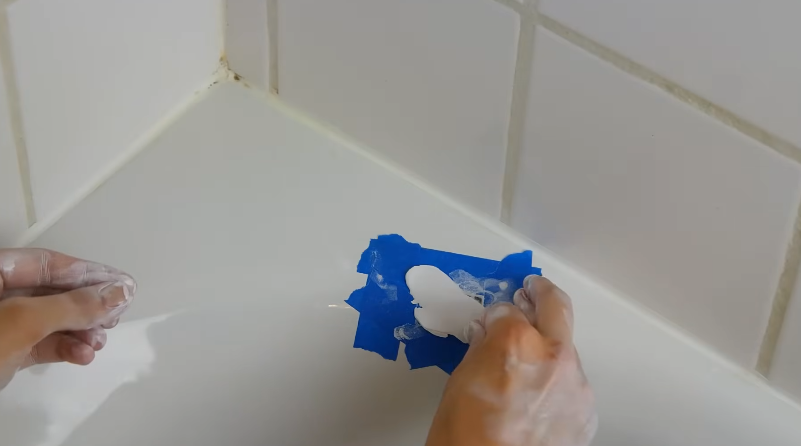
- Smooth it out so it’s level with the rest of the tub.
- Let it cure for the full recommended time (don’t rush—if it says 24 hours, wait 24 hours).
- Sand lightly with fine sandpaper to blend the repair.
When I first tried this, I got impatient and sanded too soon. The filler crumbled, and I had to start over. Learn from my mistake: curing time matters.
Step 3: Repairing Scratches
Scratches are usually cosmetic, but they make the tub look older.
- For light scratches, use a polishing compound or even toothpaste with a buffing pad.
- For deeper scratches, apply a thin layer of repair compound, let it cure, then sand and polish.
Think of it like waxing a car—tiny scratches disappear when you buff the surface properly.
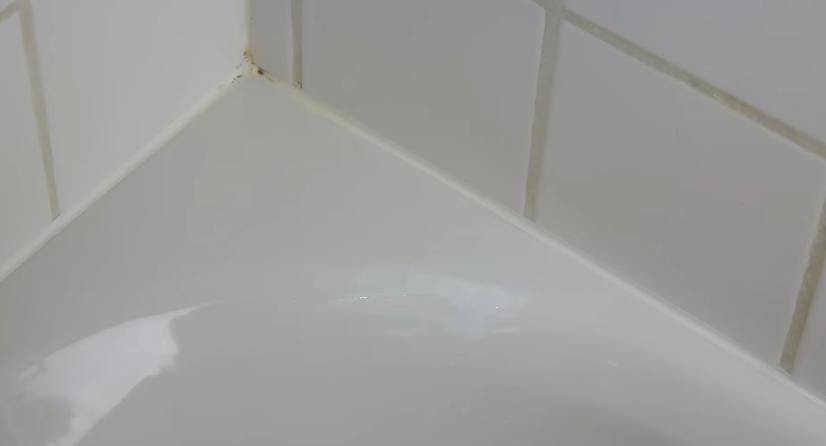
Step 4: Dealing with Stains and Discoloration
Old tubs often develop stubborn stains that don’t come out with regular cleaning.
- Rust stains: Use a paste of baking soda and vinegar, or a commercial rust remover.
- Hard water stains: White vinegar soaks or lemon juice can help dissolve mineral deposits.
- General discoloration: A professional refinishing kit is often the best long-term solution.
Here’s a stat that surprised me when I dug into it: according to home maintenance surveys, around 70% of stained tubs aren’t dirty at all—they’re actually etched or worn surfaces that hold onto grime. This means scrubbing harder won’t fix it. Refinishing does.
Step 5: Fixing a Peeling Surface
If the tub was reglazed before and is now peeling, you have two choices:
- Spot repair: Sand the peeling areas smooth, clean thoroughly, and reapply a refinishing kit in those spots.
- Full refinishing: Strip the whole surface and reapply a new finish.
I won’t sugarcoat this—full refinishing is messy, smelly, and time-consuming. But it makes an old tub look brand new.
Step 6: Polishing and Restoring Shine
After repairs, your tub might look patchy. Polishing is the secret to blending it all together.
- Use a tub polishing compound with a soft cloth or buffer.
- Work in small circles until the surface gleams.
- Apply a wax sealant if recommended in your kit for extra protection.
When I refinished my old enamel tub, the final polish was the “wow” moment. Before that, it looked okay. After polishing, it looked like it had just come from a showroom.
Preventing Future Damage
Once you’ve fixed your tub, protect your hard work.
- Avoid harsh cleaners: Skip abrasive powders and metal scouring pads.
- Rinse after use: Soap scum builds up faster than you think.
- Fix drips quickly: Constant water drops can stain and wear the surface.
- Use a bath mat carefully: Choose one with suction cups that won’t scratch.
Studies show that with proper care, a refinished tub surface can last 10–15 years, almost as long as a new tub installation, at a fraction of the cost.
Cost Comparison: Repair vs Replacement
- Chip repair kit: $15–$40.
- Full DIY refinishing kit: $50–$150.
- Professional refinishing service: $300–$600.
- New tub installation: $1,200–$5,000 (depending on style and plumbing changes).
Repairing the tub surface isn’t just practical—it’s cost-effective. Why throw thousands at a replacement if a few hours of repair can get you 90% of the way there?
When to Call a Professional
DIY is great, but sometimes it’s not enough. Call in help if:
- The tub has large cracks or structural damage.
- The surface is peeling everywhere.
- You’ve tried refinishing and it didn’t last.
- You want a factory-level finish that looks perfect.
A pro has industrial sprayers, ventilation setups, and coatings that last longer than DIY kits.
My Personal Story
Years ago, I lived in a flat with a mustard-yellow tub straight from the 1970s. Replacing it wasn’t an option, so I bought a refinishing kit. The process took an entire weekend: sanding, cleaning, priming, applying coats, and waiting impatiently. By Monday, the tub was glossy white, and suddenly the whole bathroom felt modern.

The landlord came for an inspection and thought I’d somehow managed to install a new tub. That was the day I realized: a repaired tub surface doesn’t just fix damage—it transforms the entire bathroom.
Final Thoughts
Fixing a tub surface isn’t rocket science, but it does require patience, the right tools, and a step-by-step approach. Chips, scratches, and stains can be tackled with simple kits.
Peeling or dull enamel may need full refinishing. The key is preparation—clean thoroughly, repair carefully, and finish with polish.
So if your bathtub has seen better days, don’t rush to rip it out. With a bit of effort, you can bring back its shine and extend its life for years to come.